A Step-by-Step Guide to Successfully Transplanting a Tree
PUBLISHED ON
SHARE THIS ARTICLE
Transplanting a tree can be a daunting task, yet the rewards of watching a mature tree thrive in a new location are immeasurable.
Whether you're moving a tree to enhance your landscape, save it from construction projects, or simply because it's outgrown its current spot, the process requires methodical planning, careful execution, and dedicated post-transplant care.
In this blog post, we'll walk you through the step-by-step process of transplanting a tree with success. Each step is crucial in ensuring the tree's survival and future growth.
Step 1: Planning and Preparation
Selecting the Right Time and Tree Species
The timing of a tree's move is crucial; selecting the right season depends on whether the tree is deciduous or evergreen. For deciduous trees, the ideal time is during the dormant season, typically late winter or early spring, before bud break. Evergreens fare best in the early spring.
The type of tree also plays a vital role. Some species, such as the oak, have deep taproots, making them less likely to survive transplanting. Research the preferences and characteristics of the tree you're moving to set expectations and prepare adequately.
Assessing Site Conditions
Survey the destination site for factors that may affect the tree's health and future growth. Soil quality, drainage, sunlight, and surrounding landscape are essential considerations. Ensure the new location can meet the tree's needs, so it can help promote new root growth and plant health.
Gathering Necessary Tools and Materials
The right tools are the foundation of a smooth transplantation process. You will need the following:
- Shovels (round point for digging; flat edge for root pruning)
- Pruning shears
- A sharp utility knife
- Soil amendments, if necessary (compost, sand, etc.)
- A tarp or burlap for wrapping the root ball
- A sturdy dolly or wheelbarrow for transportation
Step 2: Digging the Hole
Determining the Appropriate Hole Size and Depth
The rule of thumb for the hole is twice the width of the tree's root ball and slightly shallower. This generous space allows the tree roots to spread without restrictions and promotes faster recovery. The depth should be such that the root flare (the part of the tree where the roots begin to spread out) is slightly above ground level.
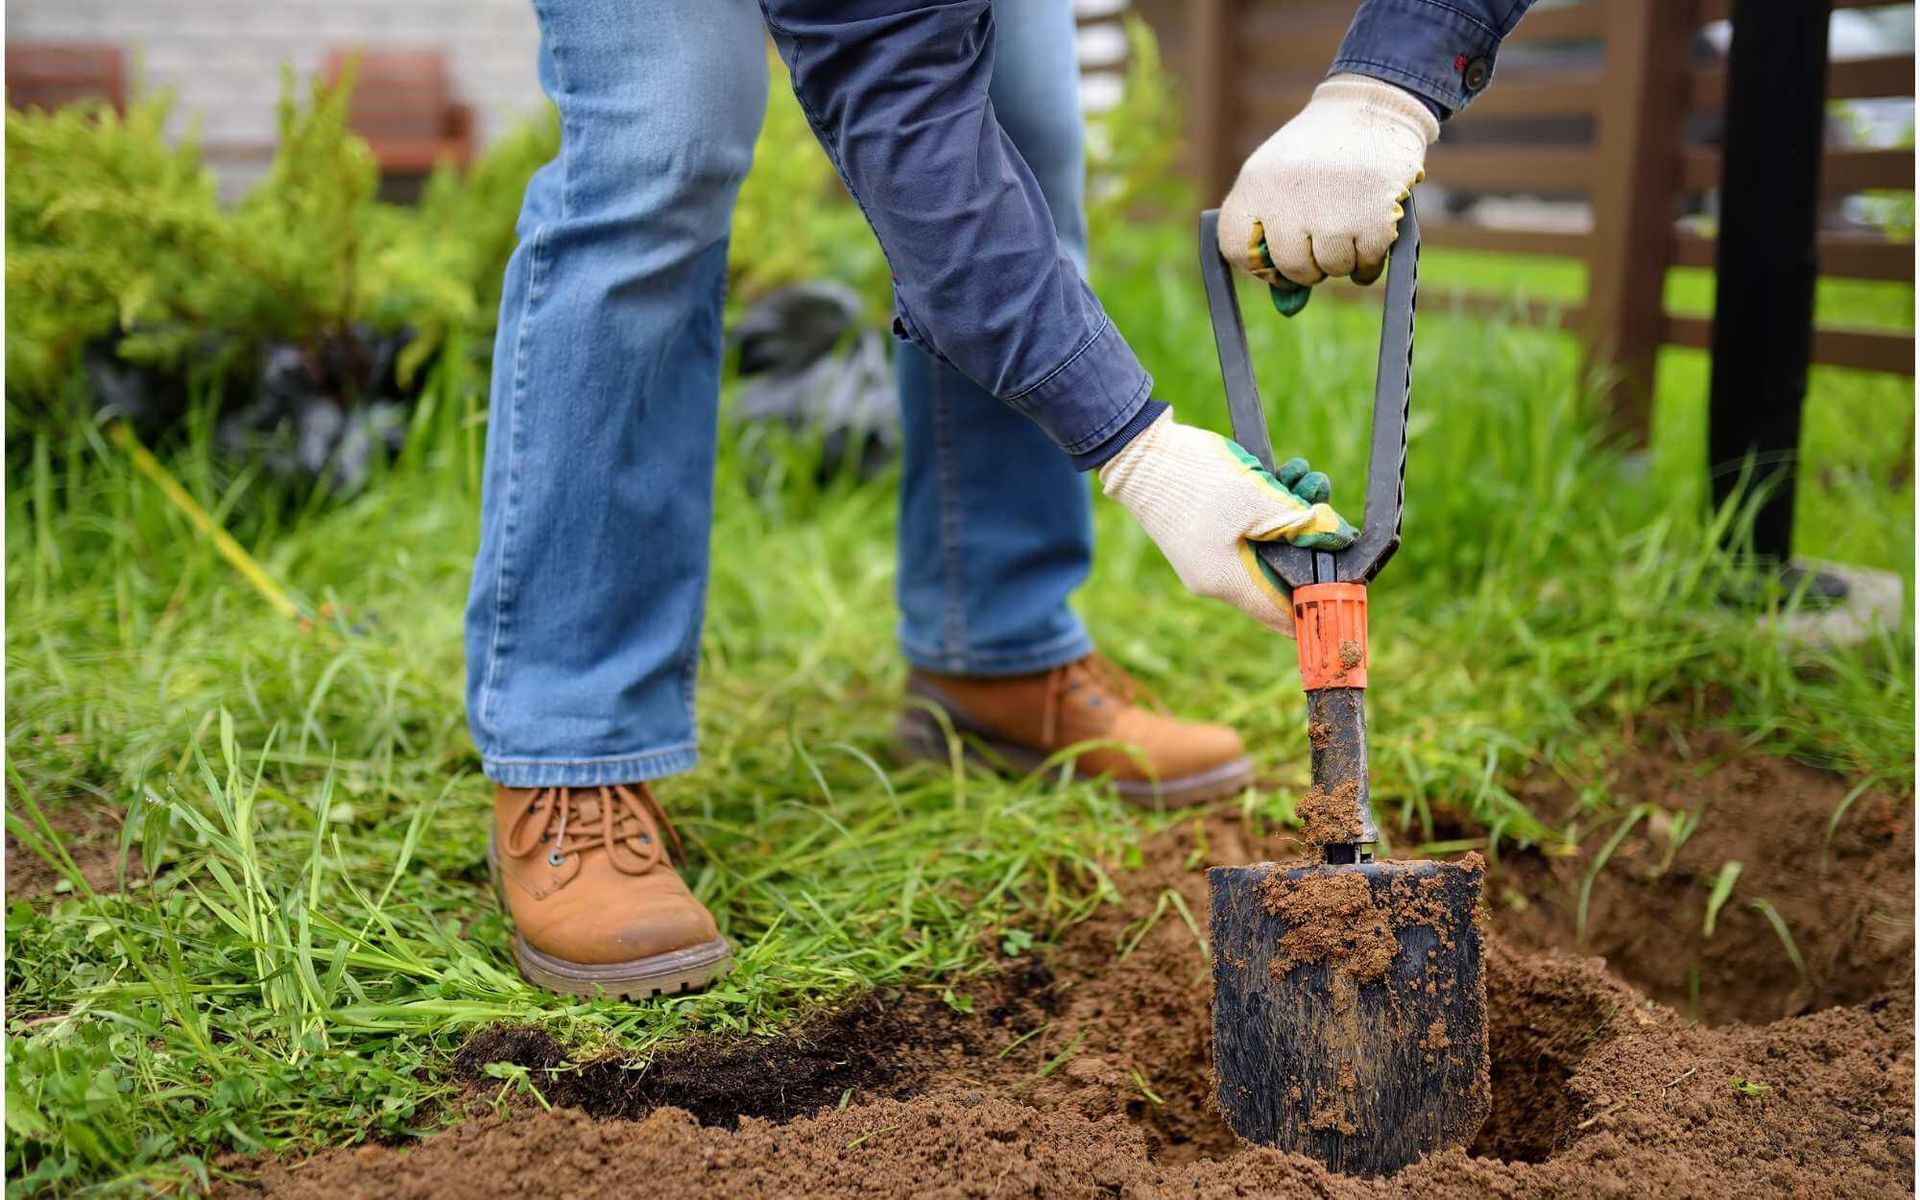
Techniques for Digging the Hole Without Damaging the Tree's Roots
Using the sharp-edged shovel, cut a clean, round edge around the hole. As you remove the soil, keep as much of it together as possible. This is critical for protecting the roots and keeping the root ball intact, which minimizes damage to the tree's feeder roots.
Step 3: Preparing the Tree for Transplantation
Pruning Excess Branches and Foliage
To reduce the stress on the tree and balance its above-ground portions with its root system, prune a portion of the canopy. The general guideline is to remove about a quarter to a third of the tree's branches, focusing on those that are competing with the roots for moisture and nutrients.
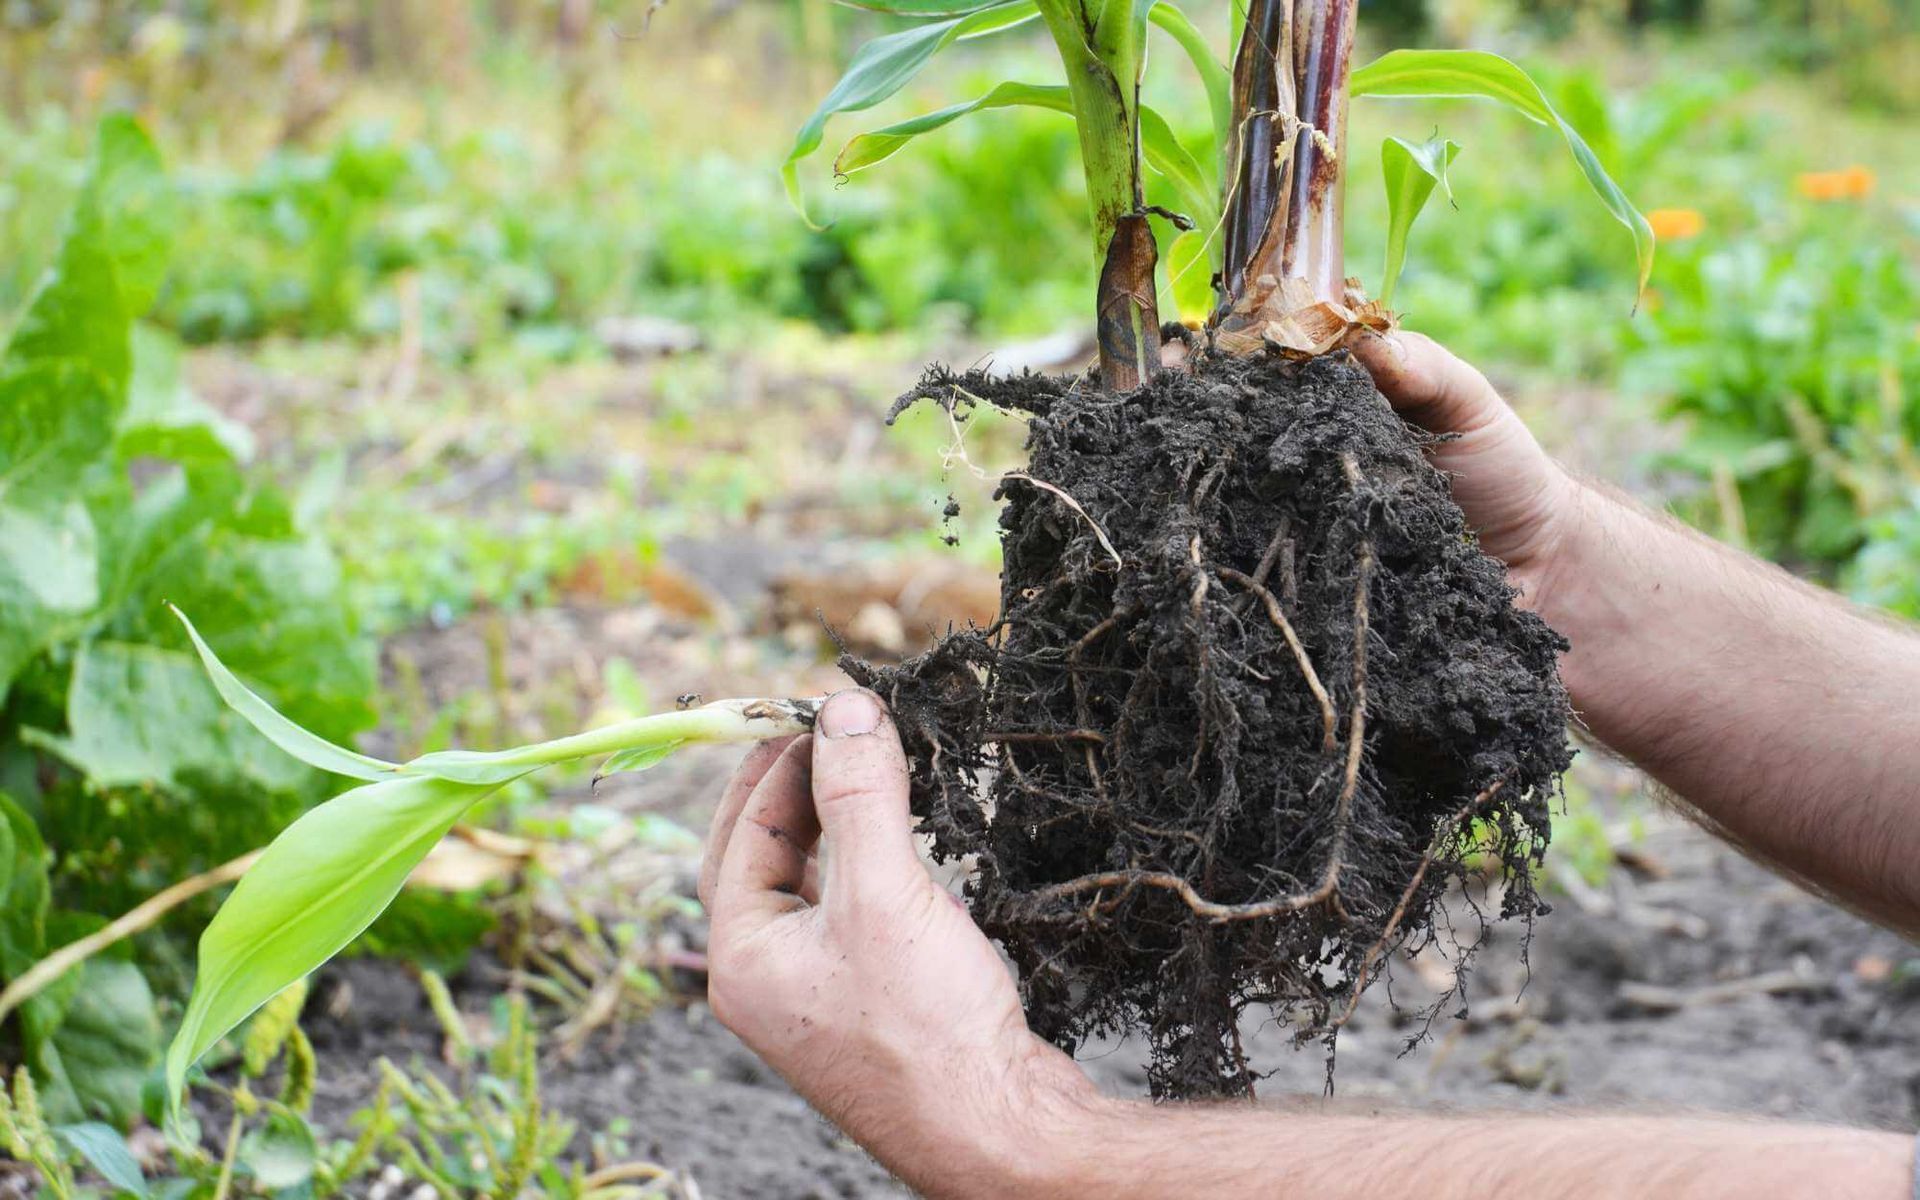
Wrapping the Root Ball for Protection
Using the tarp or burlap, wrap the root ball securely, reducing the shock of the move and preventing major cuts or damage to the roots during transportation.
Step 4: Transplanting the Tree
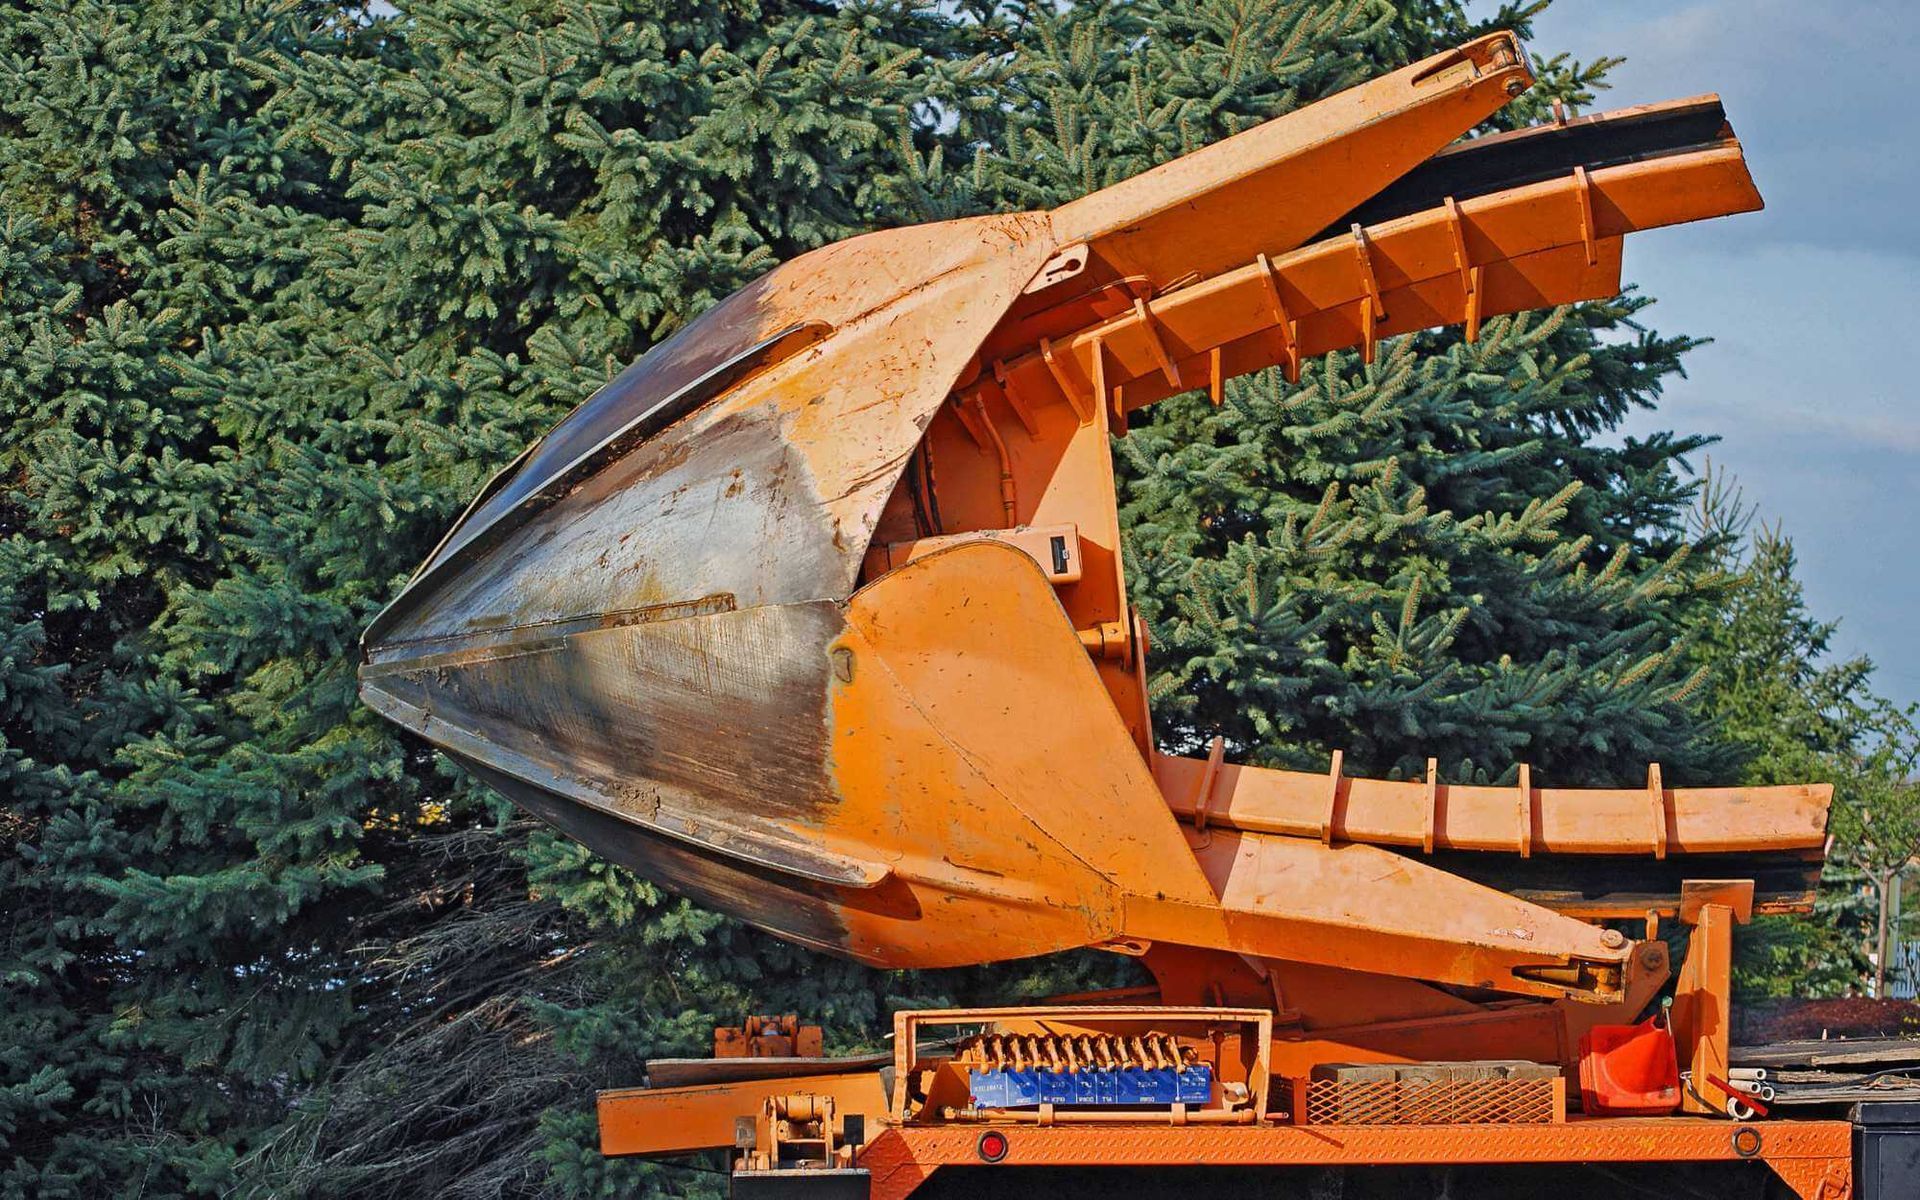
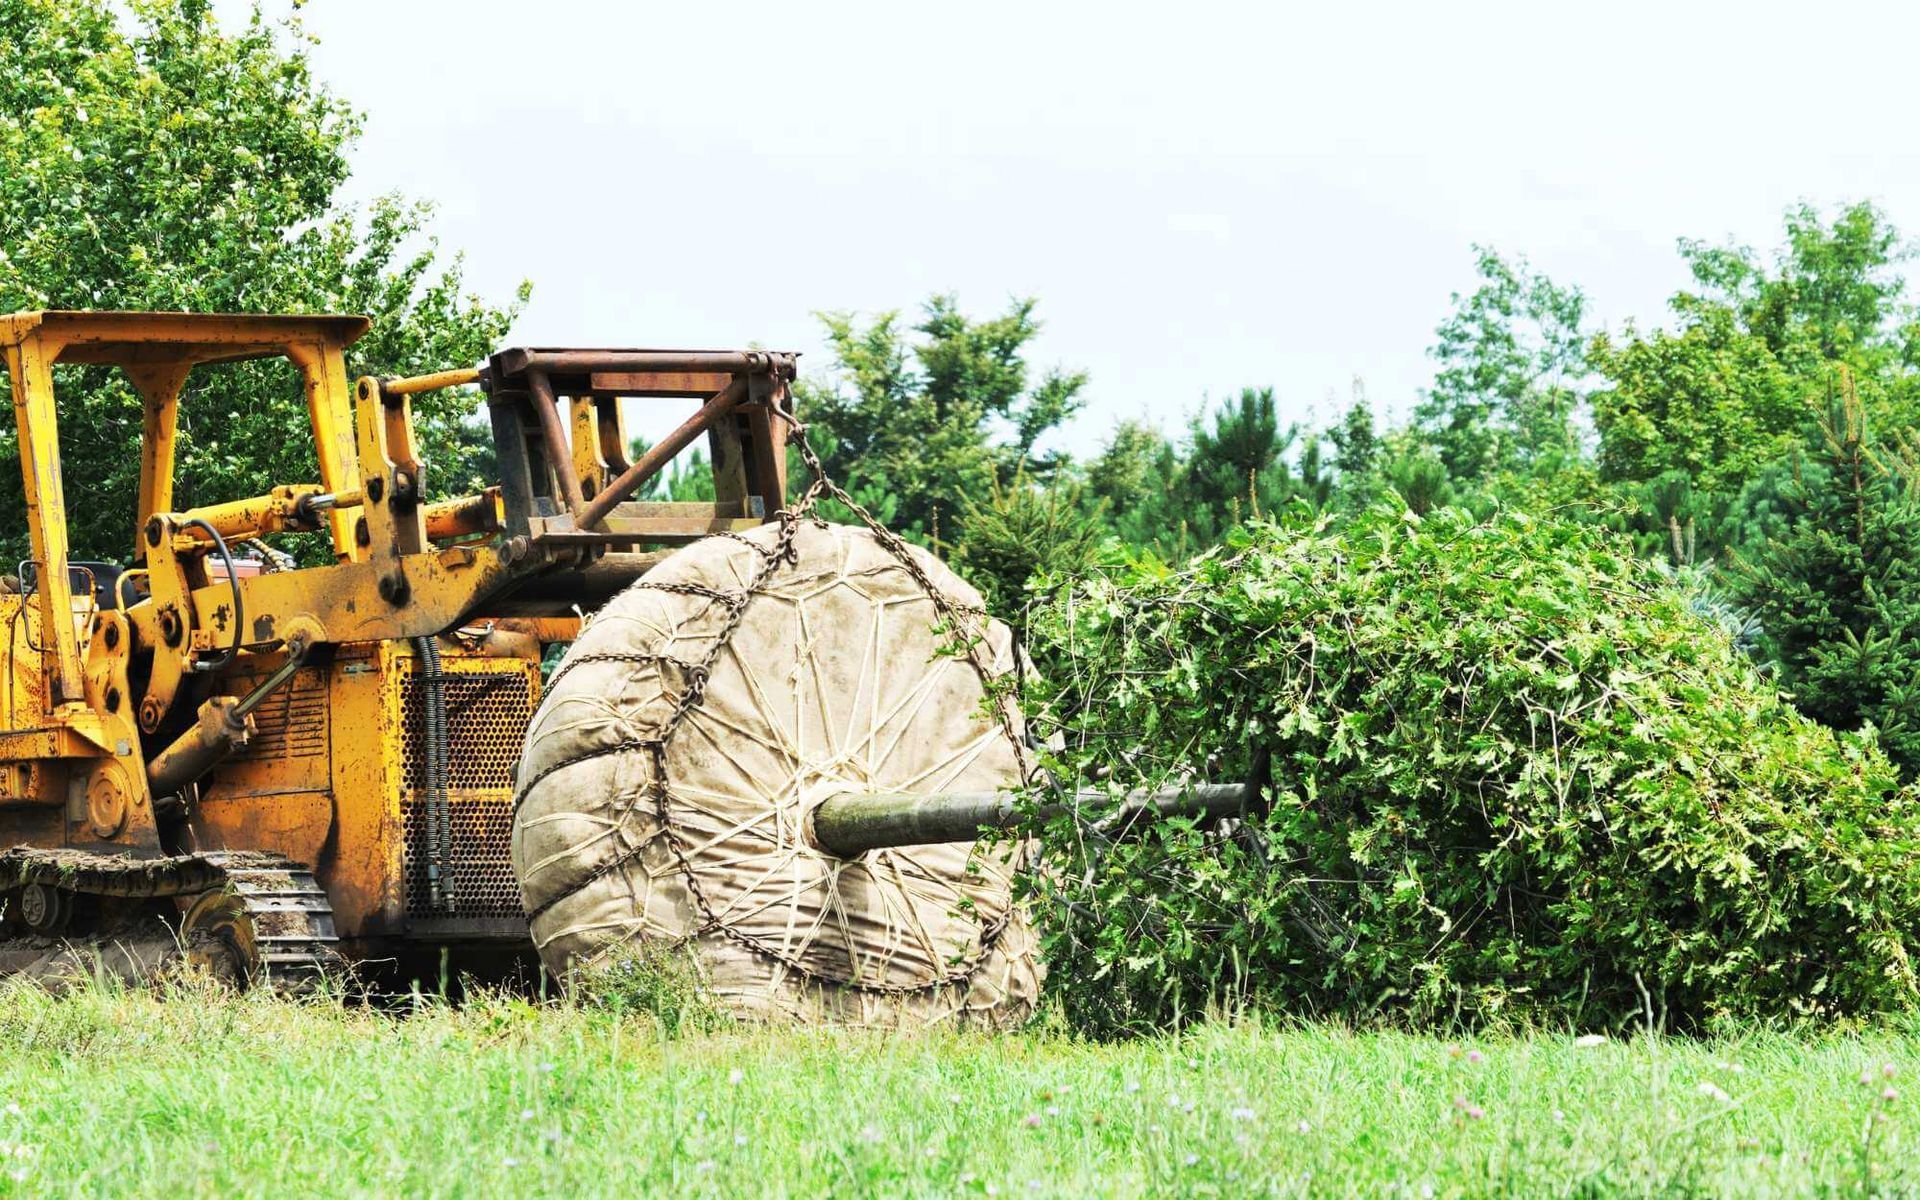
Carefully Lifting the Tree from Its Original Location
Once the established tree is ready, use a combination of shovels, straps, and a dolly to carefully lift the root ball. If it's a large tree you may need mechanical assistance such as a crane. Be deliberate and gentle, taking into account the weight distribution, the structural integrity of the root ball, and the tree's overall canopy.
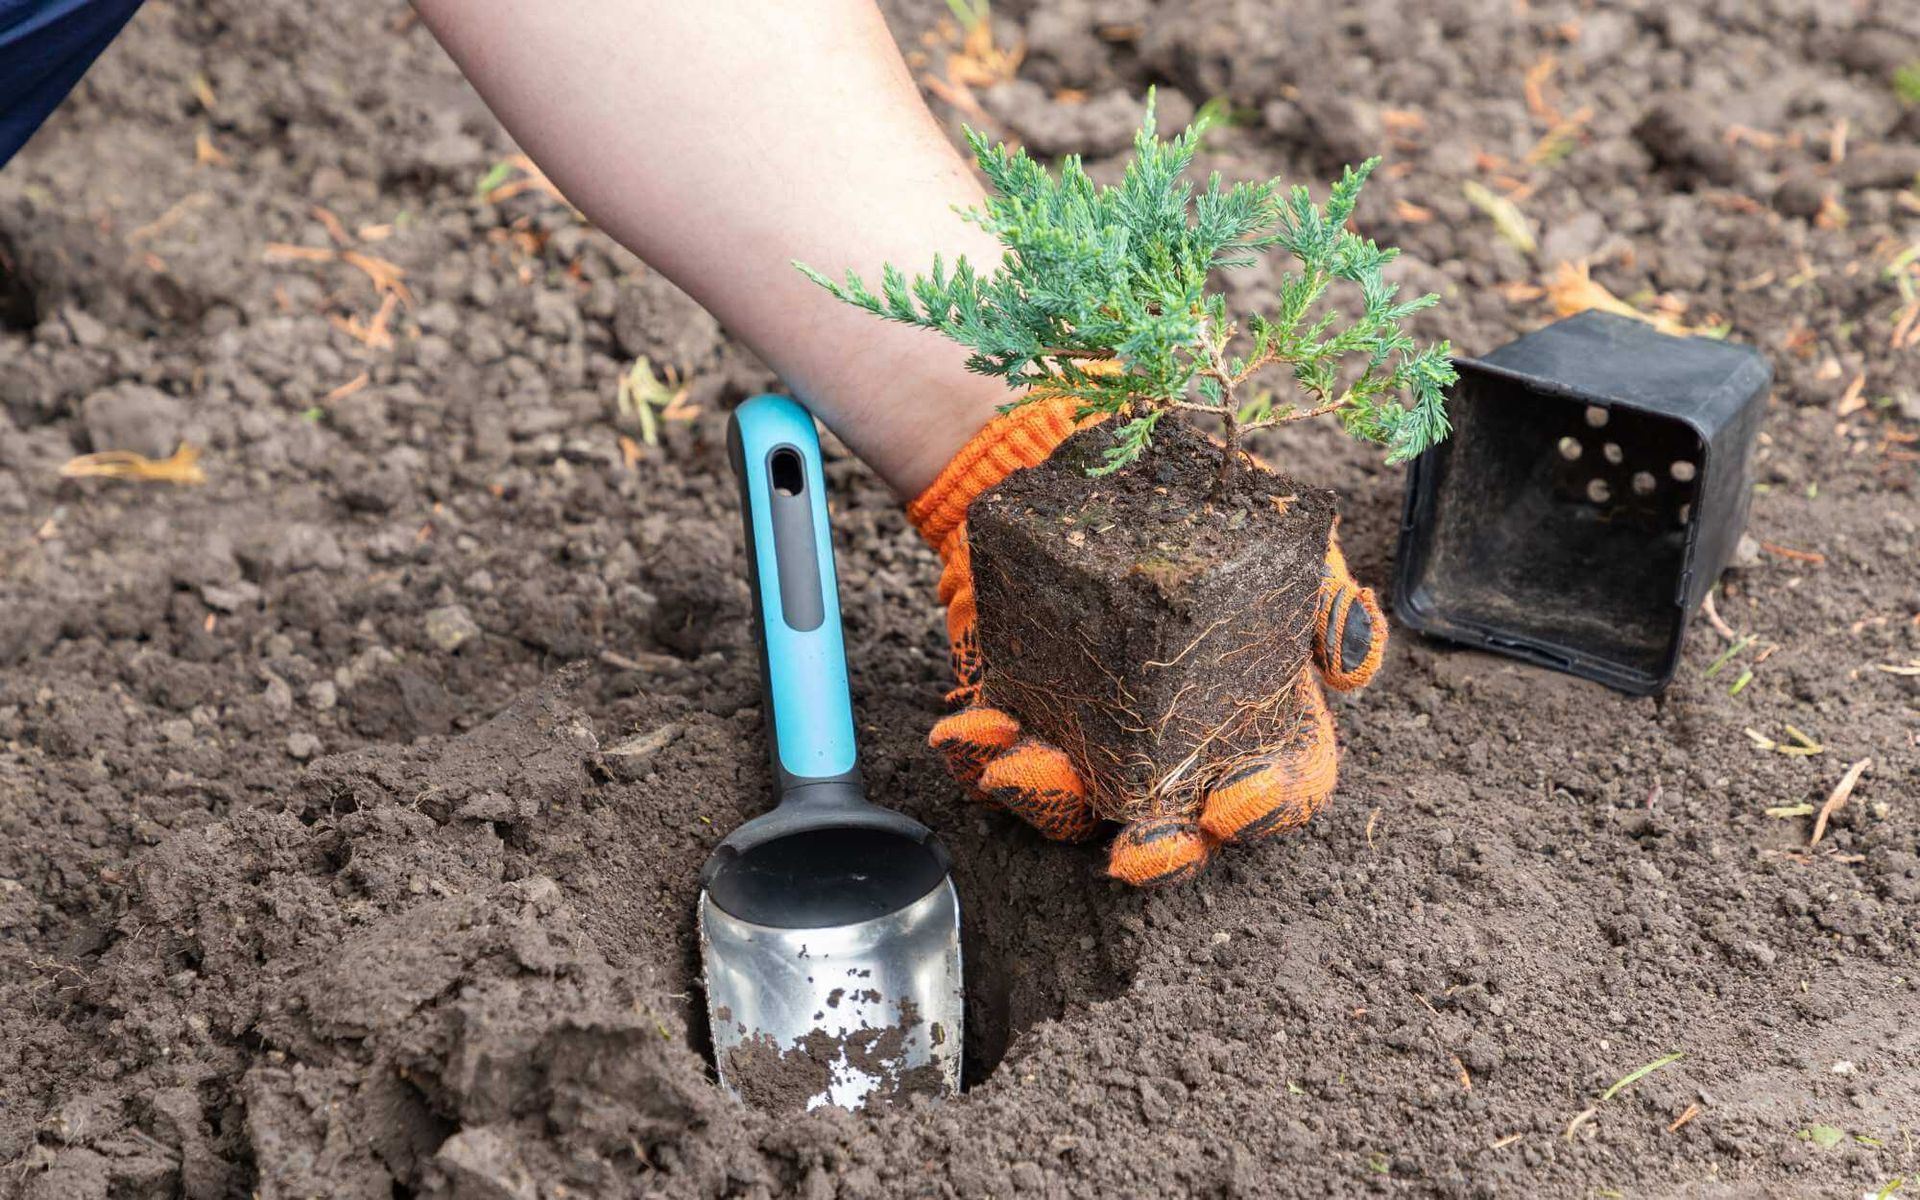
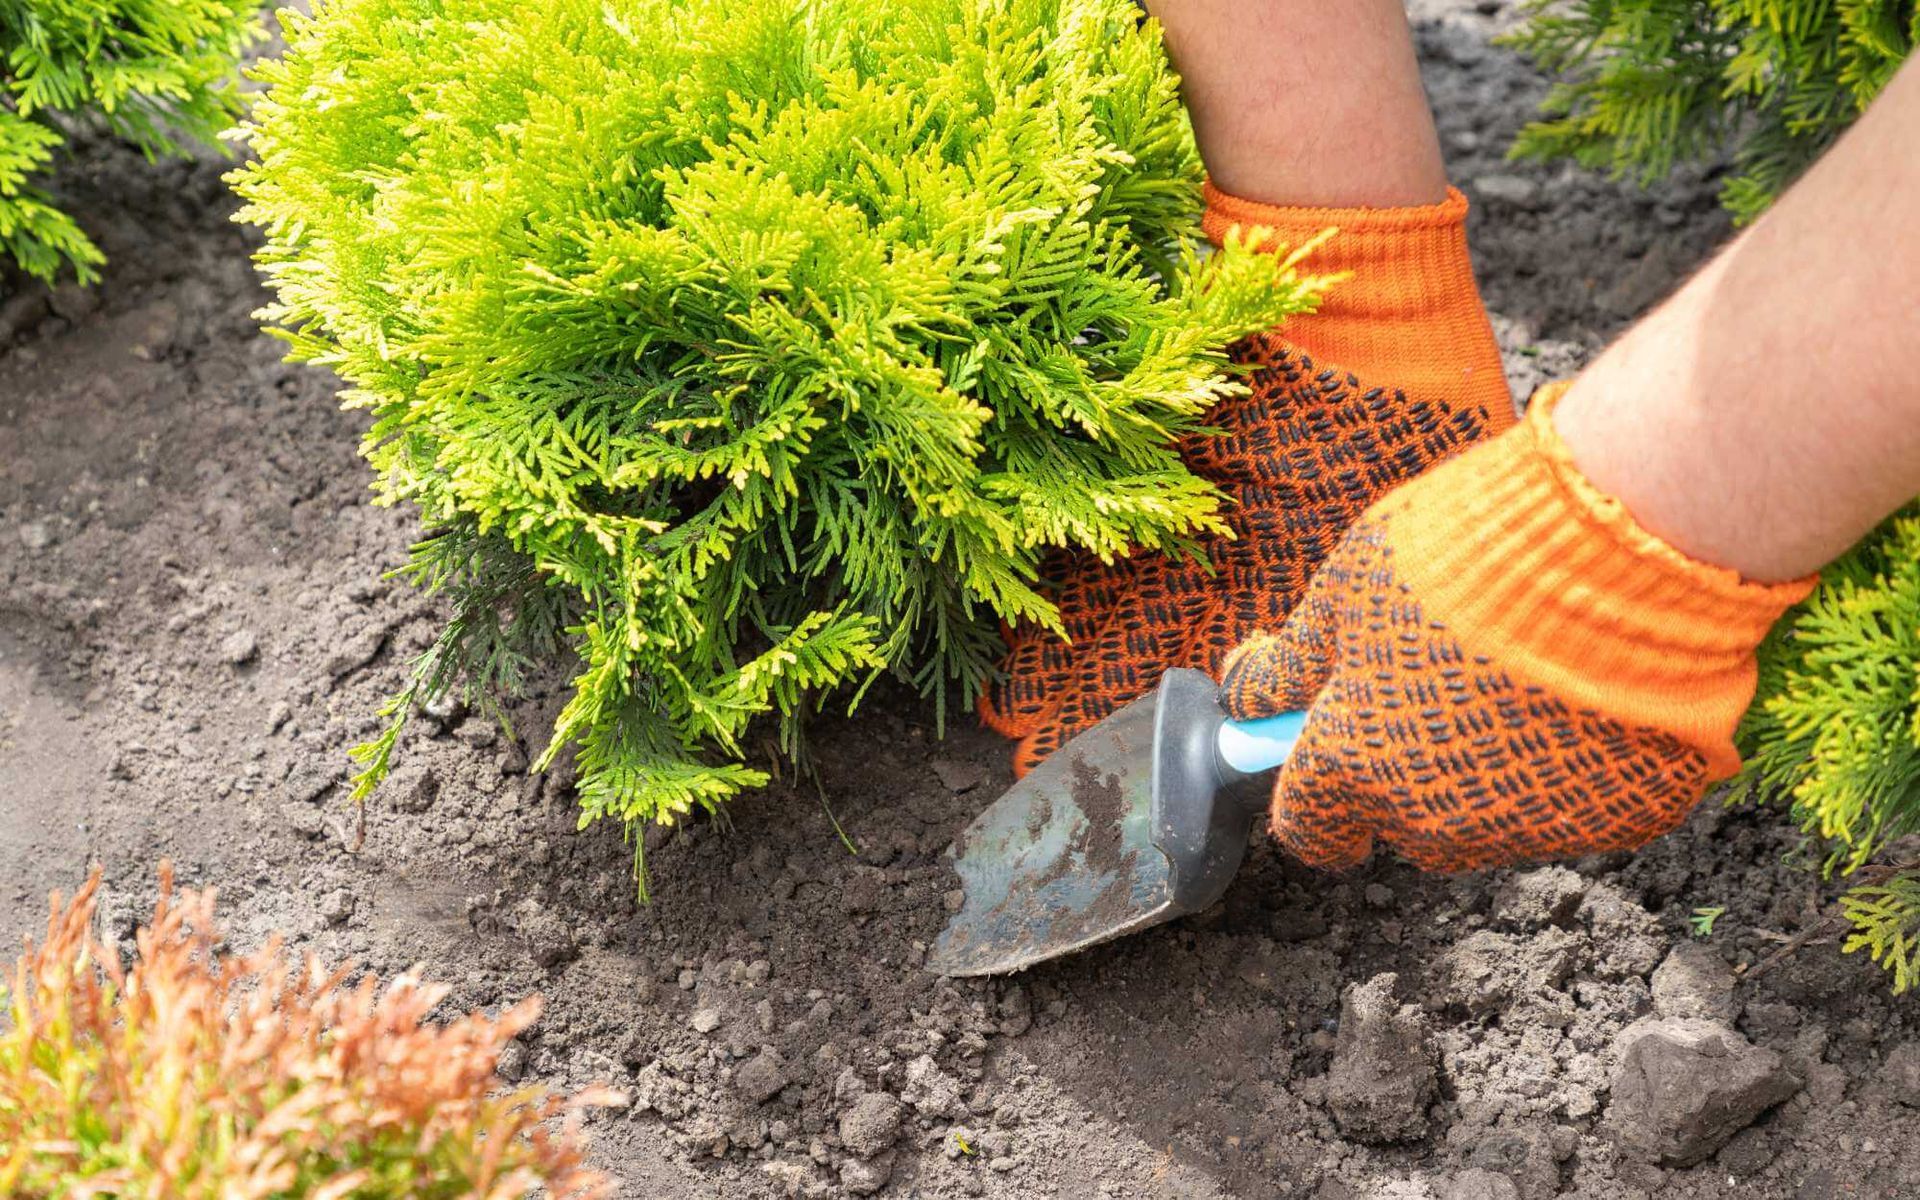
Placing the Tree in the Prepared Hole
Lower the tree into the hole, ensuring the root flare is at the correct level. Exercise patience, and make adjustments as necessary to achieve the right position.
Backfilling and Firming the Soil Around the Tree
Backfill the hole incrementally, tamping down the soil gently with your foot or hand to remove air pockets. Avoid compacting the soil too tightly as this can hinder root growth. Build a small well at the base of the tree to facilitate watering.
Step 5: Watering and Mulching
Proper Watering Techniques for Newly Transplanted Trees
Water is life, and it's especially true for a newly transplanted tree. With the tree in place, water the root ball thoroughly. Monitor the soil moisture, ensuring it is consistently moist but not waterlogged. Gradually reduce the watering frequency as the tree acclimates to its new home.
Applying Mulch to Conserve Moisture and Suppress Weeds
Mulching the tree helps maintain soil moisture, stabilizes soil temperature, and suppresses weed growth. Apply a layer of mulch around the tree, keeping it away from the trunk to prevent rot.
Step 6: Post-Transplant Care and Maintenance
Monitoring the Tree's Health and Growth
Keep a close watch on the tree for any sign of stress. Wilting leaves, discoloration, or leaf drop may indicate transplant shock. However, it's important to differentiate between stress and the natural response to being transplanted. Most trees go through an adjustment period, so monitor the tree's recovery over the following months.
Providing Ongoing Care, Including Regular Watering and Fertilization
Consistent and appropriate care is the key to a successful transplant. Continue to water the tree as needed, adjusting the frequency based on local climate and soil conditions. Fertilize the tree sparingly if the soil lacks nutrients, but be cautious not to overstimulate the growth, which can be counterproductive during the recovery phase.
From Ground to New Ground
As you complete this in-depth guide, remember that tree transplantation is both a science and an art. Each step is an opportunity to be deliberate and considerate, preserving the beauty and value of the tree with patience and care.
Following these detailed instructions will help you master the technique of moving a tree and embrace the philosophy of giving something new life in a new place.
Need help?
Don't hesitate to consult our certified arborist or other
tree care professional to guide you through the process.
Want a free quote or some friendly advice? Call our team today:
More Posts From The Real Tree Blog: